
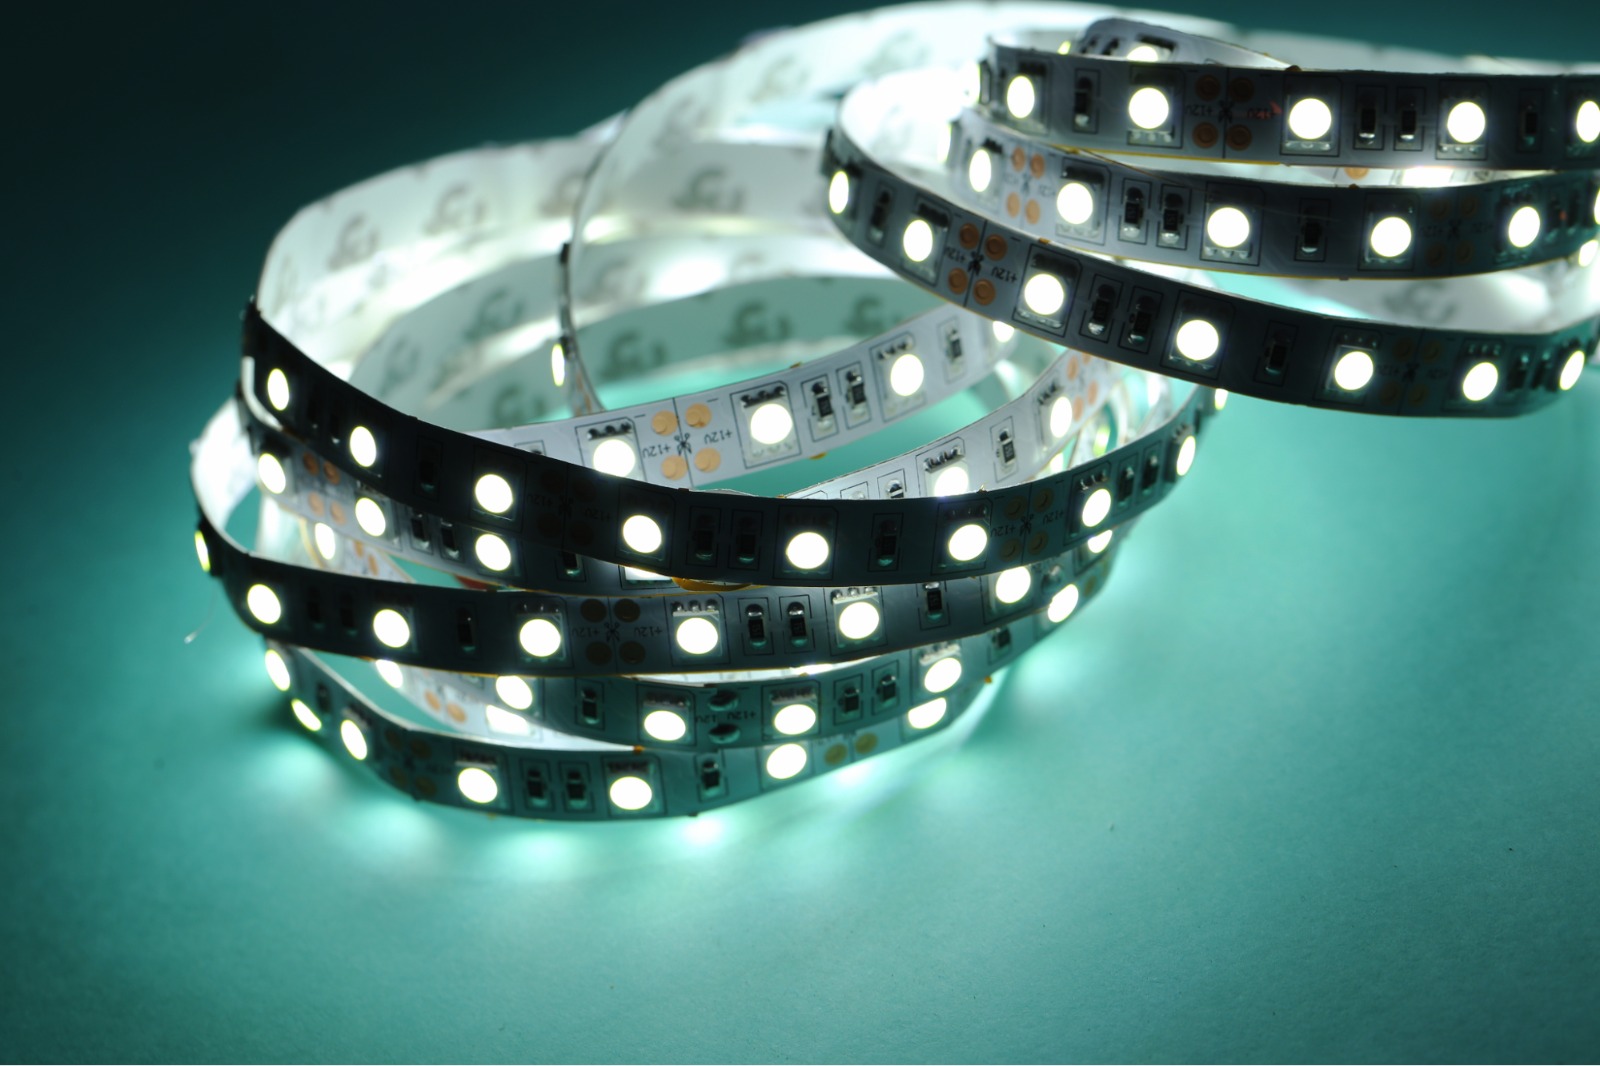
So, you have decided to upgrade your home lighting. You’ve probably spent hours browsing through different colors, brightness levels, and effects. But there is one critical component that often gets overlooked until the very last minute: the driver.
Choosing the right led driver is the difference between a professional-looking installation that lasts for years and a frustrating weekend project that ends in flickering lights or, worse, a burnt-out led strip. If you are wondering how to choose driver for led strip lights without needing a degree in electrical engineering, this guide is for you.
What Exactly is an LED Driver?
Think of the driver as the heart and brain of your lighting system. Your wall sockets provide high-voltage AC (alternating current), but led strips are sensitive components that run on low-voltage DC (direct current).
If you were to connect your lights directly to the mains, they would vanish in a puff of smoke instantly. The driver acts as a translator. It converts the power from your home into a steady, safe flow that your led can handle. Without it, the strip simply cannot function.
In the world of LEDs, you will typically see two types: constant current and constant voltage. For almost all flexible led strips sold for home use, you need a constant voltage driver. These drivers maintain a steady voltage (like 12V or 24V) while the current varies depending on how many led strips you attach.
Matching the Voltage – The 12V vs. 24V
The first thing you must do is check the specifications of your led strip. Every led strip is designed to run on a specific voltage. The two most common standards are 12V and 24V.
- 12V Systems: These are very common for shorter runs, such as under-cabinet lighting in a small kitchen or inside a display case.
- 24V Systems: These are better for longer runs. Because the voltage is higher, they can run further without “voltage drop”—which is when the lights at the far end of the strip look dimmer than the ones at the start.
Remember: You must match the output of the driver to the voltage of the led strip. If you use a 24V led driver on a 12V strip, you will destroy the LEDs. If you try to power a 24V strip with a 12V driver, the lights will either be incredibly dim or won’t turn on at all. Always double-check the product label before you connect anything.
Calculating Wattage (The 80% Rule)
Once you know the voltage, you need to find out how much power (watts) your setup will consume. This is where a little bit of math comes into play, but don’t worry—it’s simple.
Most led strips are rated by how many watts they use per meter. To find the total power you need, multiply the wattage per meter by the total number of meters you plan to use.
Example Calculation:
- Your led strip uses 10 watts per meter.
- You want to install a 5-meter run.
- 10W x 5m = 50 Watts total.
The Golden Rule: Avoid Maxing Out
You should never buy a driver that exactly matches your total wattage. If your project needs 50W, do not buy a 50W driver. Why? Because led drivers can generate significant heat if they operate at 100% capacity all the time. Over time, this heat will degrade the components and lead to failure.
To ensure a long life for your system, use the “80% Rule.” This means you should only load the driver to 80% of its maximum capacity. How to calculate this? Take your total wattage (50W) and divide it by 0.8.
- 50 / 0.8 = 62.5 Watts.
In this example, you would look for a led driver rated for at least 65W or 75W. Having more overhead is always better than having too little.
Where Exactly Will Your LED Driver Live?
Where you place the driver matters just as much as what it powers. LEDs are great because they are versatile, but the driver needs the right environment to perform.
- Indoor/Dry Areas: If you are installing lights in a bedroom or living room, a standard driver is fine.
- Kitchens and Bathrooms: Steam and moisture can ruin electronics. Look for drivers with an IP (Ingress Protection) rating, such as IP65, which make them resistant to moisture.
- Outdoor Use: If you are lighting a deck or garden, you need a fully waterproof driver (IP67 or higher).
Ensure there is some airflow around the driver. Do not wrap it in insulation or tuck it into a tiny, airtight box. Heat is the enemy of electronics; giving it room to breathe will ensure it lasts for years.
Dimmability
Do you want to be able to dim your lights? This is a common point of confusion for amators. There are two ways to do this:
- Dimmable Driver: You connect a standard wall dimmer switch (the kind you use for normal bulbs) to the driver. The driver then dims the led strip.
- Non-Dimmable Driver + Controller: You use a standard driver and then plug a small LED controller (with a remote or smartphone app) between the driver and the strip.
If you want to use your existing wall switches, you must find a driver that has dimming capabilities listed on the box. If you don’t, and you try to dim it, the lights will flicker or the driver might start buzzing.
Expert Support Meets Premium Hardware
When you decide to edit your home lighting, you shouldn’t have to feel like an electrical engineer to get it right. This is where Lucas LED sets itself apart. Beyond providing high-performance led strip lights (https://lucasled.ie/led-strip-lights) that are designed for durability and brilliant color rendering, their core strength lies in their technical advice.
If you are unsure which led driver fits your specific custom setup, their experts can guide you through the selection process. This ensures that you don’t just buy a product, but a complete, safe, and efficient lighting solution that works perfectly from the moment you connect it. Choosing quality components from the start means you avoid the headache of replacing failing parts six months down the line.
Why Does Quality Matter ?
It is tempting to buy a random, cheap led driver from an untrusted source to save a few dollars. However, this is often a mistake. Low-quality drivers often suffer from:
- Flicker: It might not be visible at first, but low-quality power output causes a high-frequency flicker that can cause eye strain and headaches.
- Radio Interference: Cheap drivers can interfere with your Wi-Fi or your radio signals.
- Safety Risks: A driver is a power conversion device. If it isn’t built to high standards, it can pose a fire risk.
Always view the certifications. Look for CE or UL marks to make sure the product has been tested for safety. All reputable led drivers will have these clearly marked.
Installation Tips for a Seamless Setup
Now that you know how to choose the right gear, here is a quick step-by-step on how to set it up:
- Safety First: Always make sure the power is turned off at the mains before you start.
- Strip Preparation: Cut the led strip only at the marked cutting points.
- Connection: Connect the wires from the strip to the output side of the driver. Typically, Red is positive (+) and Black is negative (-).
- Mains Connection: Connect the input side of the driver to your home power supply. If you are not comfortable with this step, this is the time to call a professional or email an expert for advice.
- Test: Turn the switch on. If the lights don’t come on, check that the polarity (+ and -) isn’t swapped.
Summary
Before finalizing your purchase, double-check that your chosen led driver perfectly aligns with the voltage and wattage requirements of your led strip to ensure long-term performance. Selecting a product with a 20% power buffer and the correct environmental rating will make your lighting setup both safe and durable. With the right components and professional technical advice, your DIY project will achieve a stunning, professional finish that lasts for years.